Tuesday 29 November 2016

Mini Memory Quilt Part 2

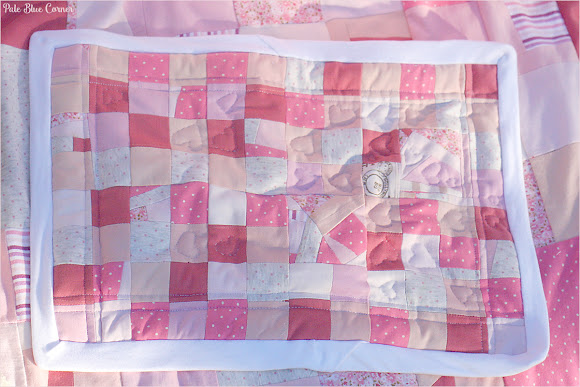
After a few hours of piecing and quilting, my mini memory quilt is ready. I used the leftover of my memory quilt but with smaller squares. The first part of this project can be found here: Mini Memory Quilt Part 1.

Mini Memory Quilt

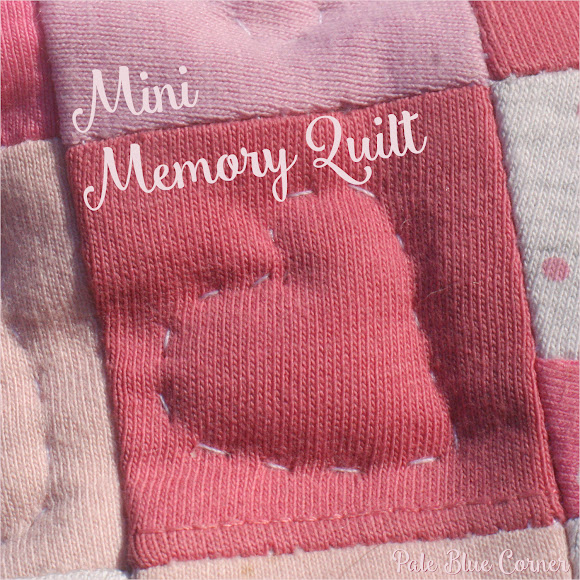
Using parts of the same duvet as previously, this small quilt became very soft and fluffy. Using my regular sewing machine I sew some straight lines close to the edges so everything stays together, then finished it up by manual quilting some hearts. The quilt is so thick, that I couldn't do the usual rockning motion of the needle, I had to go up and down and up and down... It was very slow. They are just freehand hearts, and I still need to add some.

Mini Memory Quilt

Rewatched Jenny’s great video tutorial about binding. I used machine binding for the front side then hand binding for the back of the quilt.

Here you can see my two memory quilts together:

Mini Memory Quilt Mini Memory Quilt Mini Memory Quilt

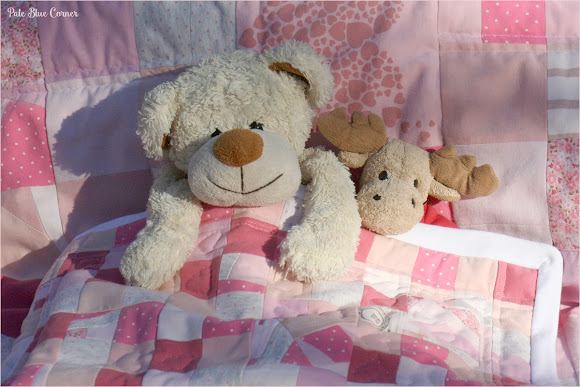
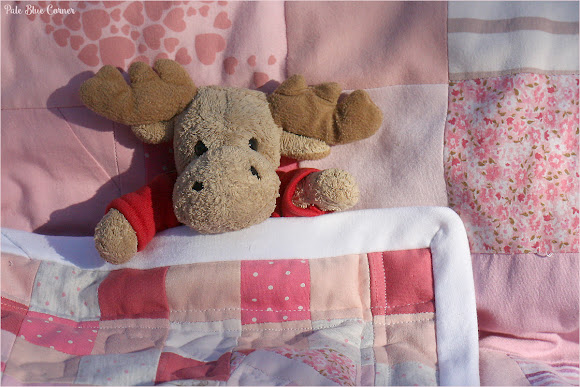
My daughter was very happy with this quilt and started playing with it right away. The background is my Memory quilt.

Mini Memory Quilt Mini Memory Quilt

I still have a few small squares left, one day I will use them. But not today. Probably not this year...


Cheers,
Emese
Friday 25 November 2016

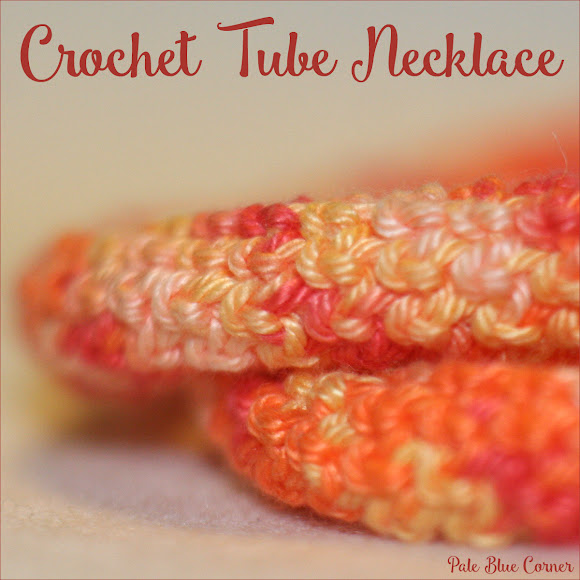
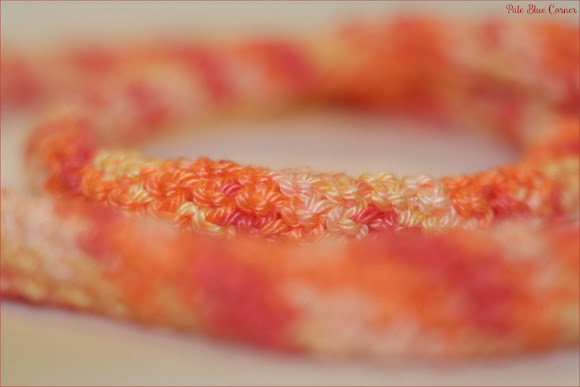
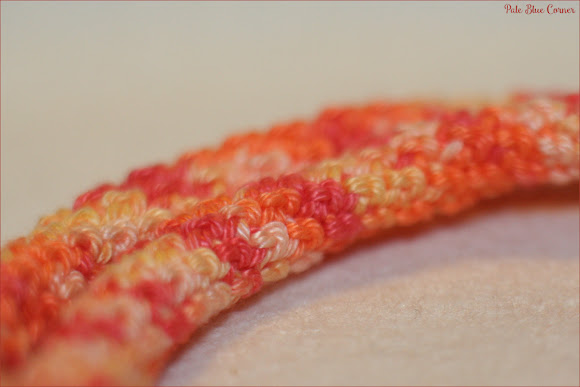
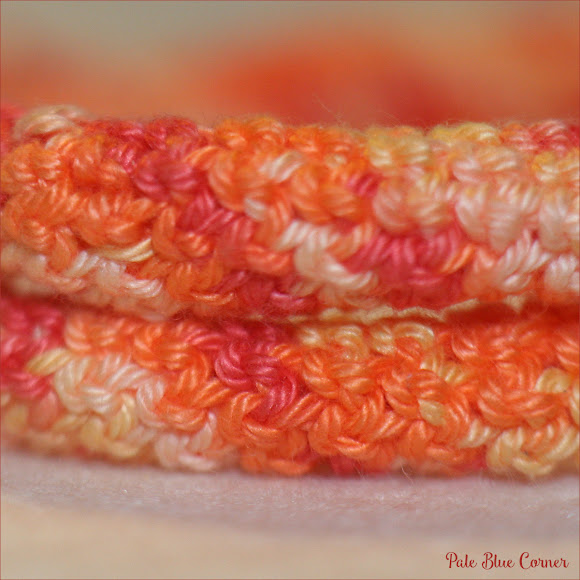
Crochet Tube Necklace

This pretty crochet tube necklace can finish off an outfit perfectly. Especially when you can make it yourself to match! For this necklace I used the same multi coloured Catania yarn as for my curly crochet necklace.

I used a size 3 US crochet hook and a yarn called Schachenmayr Catania, which is a 100% cotton, 50g = 125m (1.75oz = 137 yds) yarn.

Skills: magic ring, chain stitch, slip stich, single crochet
Materials: yarn, crochet hook, scissors

Instructions:
Start with a magic ring.
6 single crochet in the ring and close with a slip stitch.
Crochet 1 sc in each stitch. Do not close each round with a slip stitch, just keep on crocheting
Finish off and weave in end.


Make your tube as long as your tube necklace you wish to have. You can start with more than 6 single crochets in the first round, this will make your tube thicker.


Cheers,
Emese
Thursday 24 November 2016

Felt Bead Necklace

This time I would like to show you a necklace made from felt beads and organza. For this project you can use any kind of felt, even some small scraps. This is a very easy project, you can involve your kids, they will have lots of fun doing some colourfull necklaces.

To make a felt bead, begin by cutting out felt trapezes, mines are about 10 cm long, and 1 cm and 5 cm wides but you can use any size you like. Wrap the felt around a bamboo skewer and use some glue to keep it together.

If you made a few beads, you can thread them using an organza ribbon. You can also mix in some other beads to make the necklace more interesting.


Cheers,
Emese

Tuesday 22 November 2016

Mini Memory Quilt Part 1

You might remember that a few weeks ago I made a memory quilt for my doughter (you can take a look at it here: Memory Quilt Part 1, Memory Quilt Part 2, and Memory Quilt Part 3). I had some scraps from that project and decided to create a mini memory quilt that will be a blanket for a doll.

It is very similar to the "big" memory quilt, a set of random pink squares with a few crazy squares here and there. I just had to put those crazy squares in the desing.


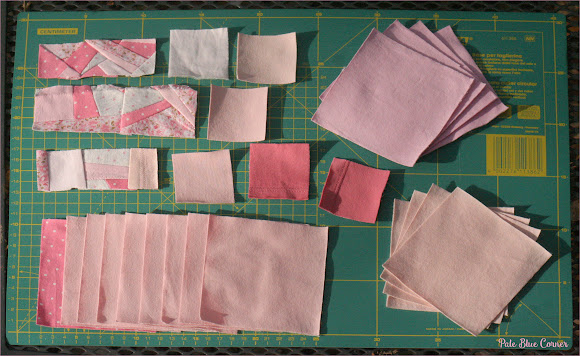
Here are some of the scraps I was working with:

Mini Memory Quilt

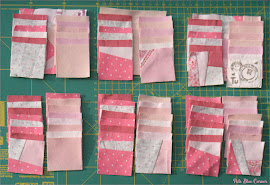
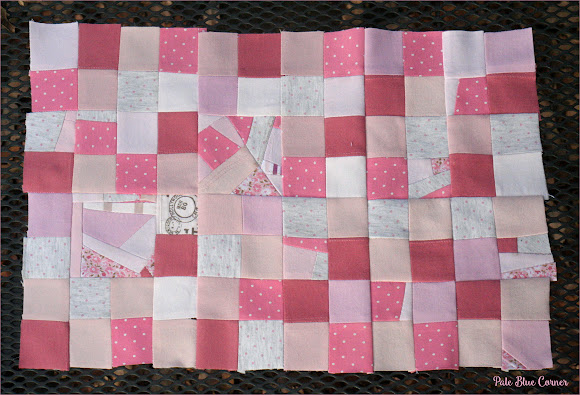
The squares of the original quilt were 10 cm by 10 cm (about 4 in x 4 in) but for this mini quilt I felt that I need something smaller so I went for 5 cm by 5 cm (~2 in by 2 in) squares.

Mini Memory Quilt Mini Memory Quilt

After a couple of hours of sewing the quilt top is ready!

Mini Memory Quilt

And some details of the quilt:

Mini Memory Quilt

Now I just have to quilt it... Since it is not going to be a fluffy comforter, I will be able to use my basig sewing mashine to do some quilting. Will show you the result as soon as I can find some time to finish it.

Cheers,
Emese
Saturday 19 November 2016

Curly Crochet Necklace

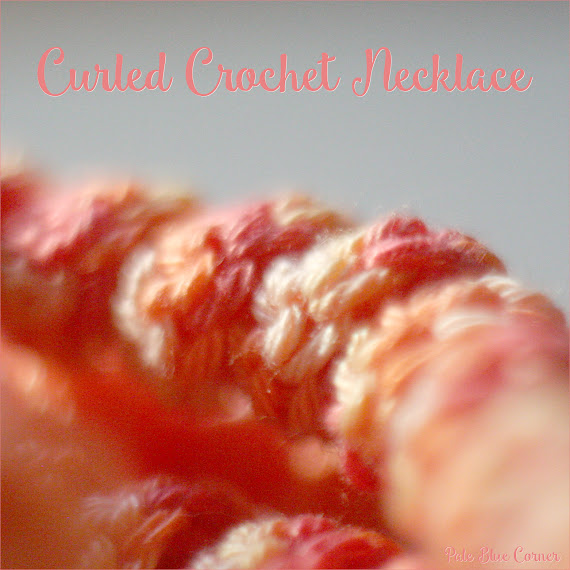
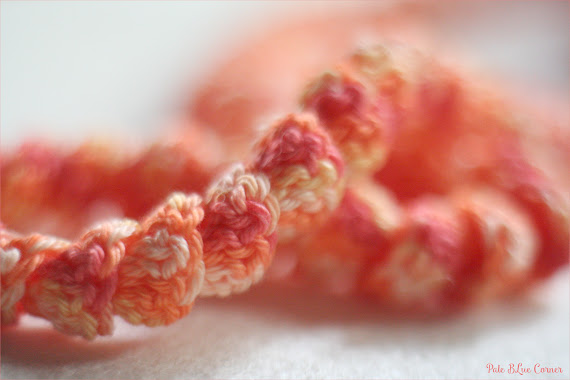
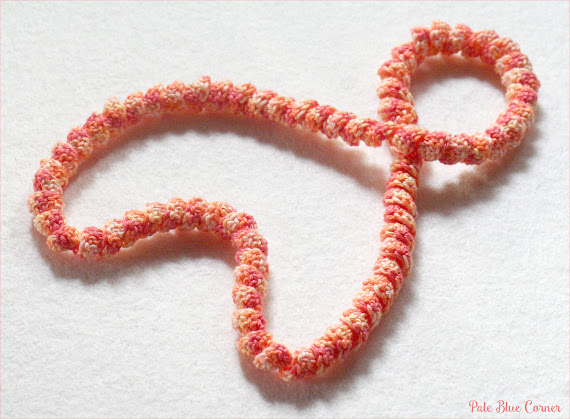
Continuing my series of necklaces, today I would like to show you how to make a curly crochet necklace. For this necklace I used a beautiful multi coloured yarn. It is a beginner crochet pattern that only uses simple stitches that don't require any advanced techniques. Play with different yarn types and colours to find what suits you better.

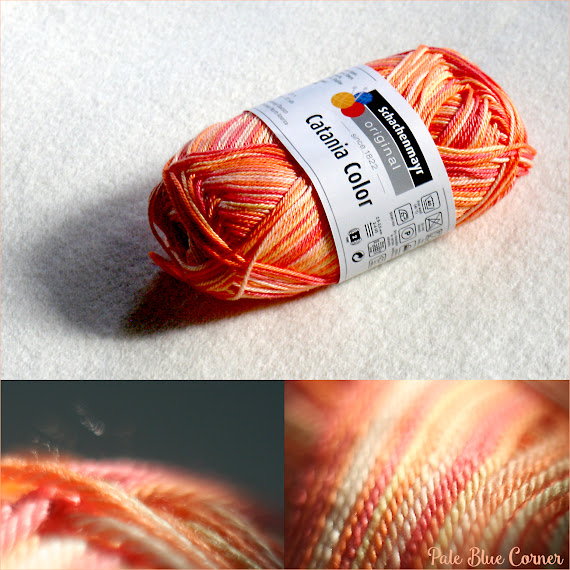
I used a size 3 US crochet hook and a yarn called Schachenmayr Catania, which is a 100% cotton, 50g = 125m (1.75oz = 137 yds) yarn.

For this pattern you need to know how to do a row of chains and the double crochet. You can start with any number of chains depending on the length of the curly necklace you wish to make, but keep in mind that the length of the chain will shorten about 15-20% as it curls.

Skills: chain stitch, double crochet
Materials: yarn, crochet hook, scissors

Instructions:
Row 1: make a chain as long as you would like your necklace to be plus 15-20%
Row 2: make 2 double crochets into the fourth chain from the hook, then 3 double crochets into the next chain and each chain till you reach the end
Finish off and weave in end.

Finger block your curly necklace to the proper shape after finishing. Sometimes the curly cue loses its spiral shape while crocheting. Don't worry about it, just twist it around a few times and it will take it's curly shape back.


Cheers,
  

Thursday 17 November 2016

Felt and Ribbon Necklaces

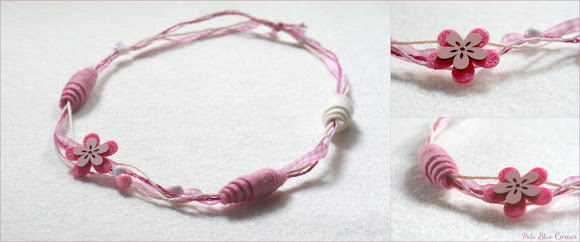
Continuing my series from last week (Felt Scraps Necklaces and Felt Scraps Necklace in Pink) this time I would like to show you a necklace made from felt and decorative ribbon.

It is pretty easy to make a necklace like this, just had some fun with the left overs of felt and ribbon lying around my table.

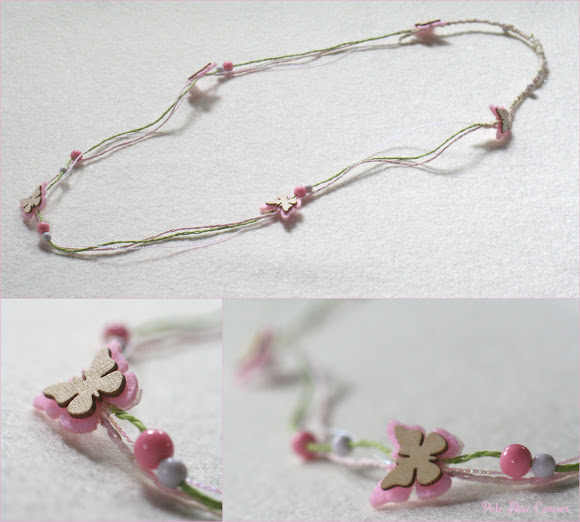
As usually, my daughter joined me and created her own necklace using just a decorative ribbon with butterflies.

Felt and Ribbon Necklaces

Cheers,
Emese
Wednesday 16 November 2016

Felt Scrap Necklace in Pink

While I was making my felt scraps necklaces, my daughter was digging in my scrap basket and found some treasure.

With some help, she made a a beautiful necklace for herself. My favourite colour is blue, pale blue to be more precise, but clearly, her colour scheme is more on the girly side.


Cheers,
Emese

Wednesday 9 November 2016

Felt Scraps Necklaces

Lately I’ve been getting a little too excited over handmade jewellery and made a list of easy and fun projects I want to share with you over the next couple of weeks. I think jewellery doesn’t have to be always expensive, time consuming or difficult to make and I decided to show you lots of lovely projects that are beautiful, inexpensive and simple to achieve. Here are some ideas to get you started.

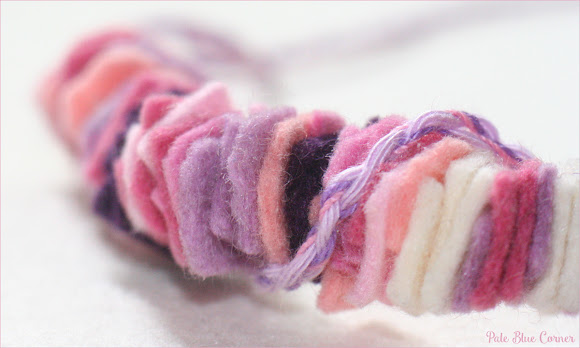
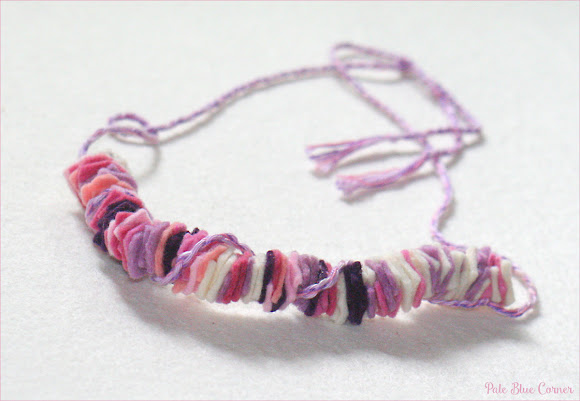
The first one is a Felt Scraps Necklace, where I used some of my white and blue scraps I had. First I cut my felt scraps to little squares and then threaded them randomly on a yarn. This way all necklaces are unique and different from one another.

My second necklace is a Morse Felt Necklace. For this project I cut some small disks out of felt and threaded them to have my name in Morse Code. I made this necklace more than a year ago and washed in a washing mashine with regular cloth several times. Seems that it keeps the shape very well but I suggest not to wash it just if it is really really necessary.

Using these techniques you can also make bracelets.


Cheers,
Emese
Tuesday 1 November 2016

Leaf Coasters

I like fall. The leaves turn such interesting colours here in my corner of the world. I love the reds and oranges and yellows, they are so beautiful. Somehow I always end up with leaves in my hand.

Leaf Coasters

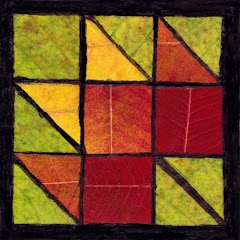
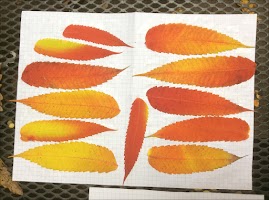
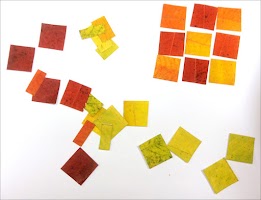
A couple of weeks ago I created some coasters from felt and this time I wanted to try something similar, but with leaves. I had leaves with different colours from green to red that are flat and have the least amount of damage.

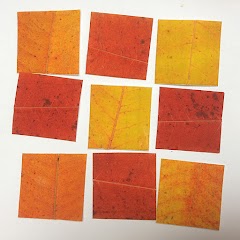
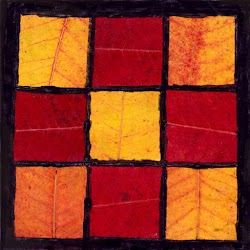
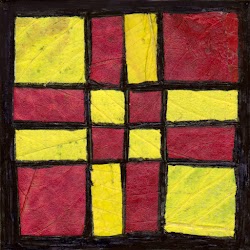
First I glued the leaves to a sheet of paper from an old exercise book. After deciding on the pattern, I cut out all the shapes I needed and then glued them on another sheet of paper. Then I traced the edges with my sharpie because I liked the look better and used my iron to dry and flat out the coasters. Use medium heat and also, you don’t want any steam — so no water in the iron! Finally, I used some decoupage glue to coat the coasters.


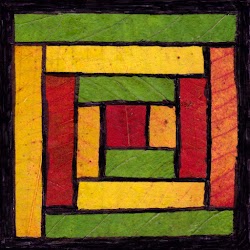
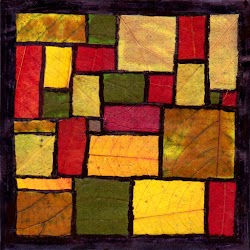
Each coaster is 10 cm x 10 cm (about 4 inches by 4 inches). I used some great old quilting block desings, and of course I had to try a crazy block with the tiny scraps I had after the normal blocks. To have better colours, I used my scanner for the following images.


Cheers,
Emese
P.S. Follow my blog with Bloglovin :)

Related Posts Plugin for WordPress, Blogger...